
Time Kiosk (Windows PC)
2 min read
Time Kiosk (Windows PC)
Use this guide to install and configure Wageloch Time Kiosk on a Windows PC.
With current Wageloch updates, desktop installation is usually required only for biometric clocking methods or when your team has requested desktop software deployment.
If you get stuck at any point, contact Wageloch Helpdesk.
Before you start
- Confirm you have Windows administrator access on the computer.
- Confirm your Wageloch admin login email and password are available.
- Confirm which clock method your site is using:
Download and run the installer
- Go to https://wageloch.com.au/cloud.
- Download the installer package.
- Open the downloaded installer.
- Select Next to start installation.
Fingerprint driver requirement
If your site uses a fingerprint scanner, choose the Complete install option so the DigitalPersona drivers are also installed.
- Select your installation type:
- Typical: for standard installations.
- Complete: when fingerprint driver support is required.
- Select Install.
- Select Finish after installation completes.
Complete first-time desktop setup
After installation, both Wageloch Roster and Wageloch Time Kiosk should appear on the desktop.
When opening either app for the first time:
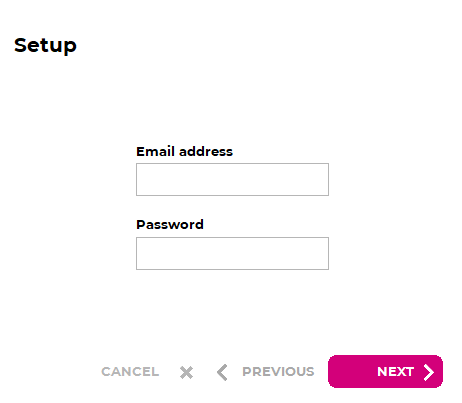
- Enter your Display Name.
- Enter your Wageloch admin email and password.
- Select Next.
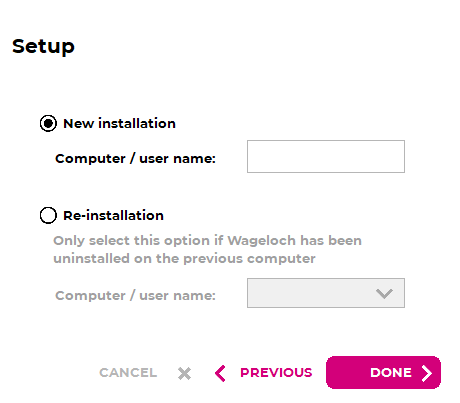
- Select New Install when prompted.
- Enter a clear computer name (for example
ADMIN-PC,KITCHEN-KIOSK,DISPENSE). - Select Done.
Multi-site access
If your login can access more than one site, select the correct site before setup finishes.
Add and manage login users
Before adding local app logins, confirm those users exist in Wageloch and have appropriate access under Users and Security.
Logging in for the first time
- Open Wageloch Time Kiosk.
- Enter the user display name.
- Enter the user email address.
- Select Done.
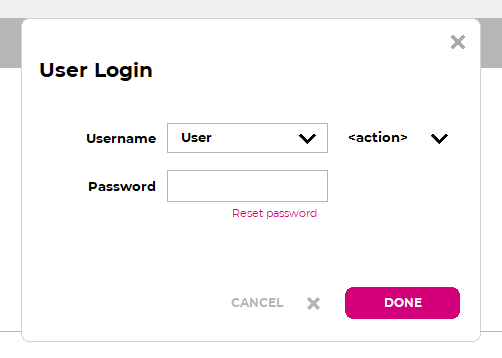
- Sign in at the login prompt.
Adding a login after creating a new user
- Open the Username dropdown.
- Select add new.
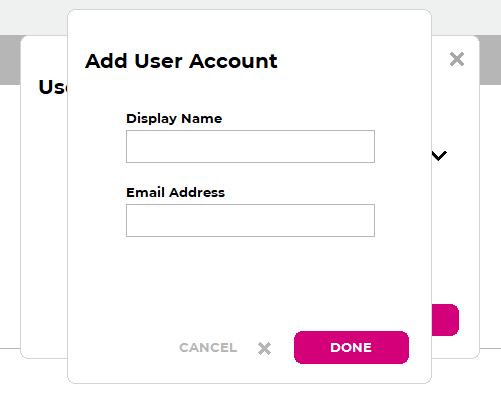
- Enter the new user display name and email address.
- Select Done.
- The user can then enter their password and sign in.
PIN and Password
Configure PIN and password clocking in Time Kiosk, register staff credentials, and reset login details when needed.
RFID Scanner
Set up RFID clocking in Time Kiosk, register ID tags to staff, and manage reassignment when tags change.
Fingerprint Scanner
Set up fingerprint clocking in Time Kiosk, register staff fingerprints, and manage deletion when re-registration is required.
Iris Scanner
Install the iris scanner driver, configure Time Kiosk for iris clocking, and manage registration and deletion.