
Staff information
2 min read
Staff information
Staff cards hold the core details Wageloch uses for rostering, timesheets, payroll setup, and employee administration.
Open a staff card
- Sign in to Wageloch.
- Open Staff from the top menu.
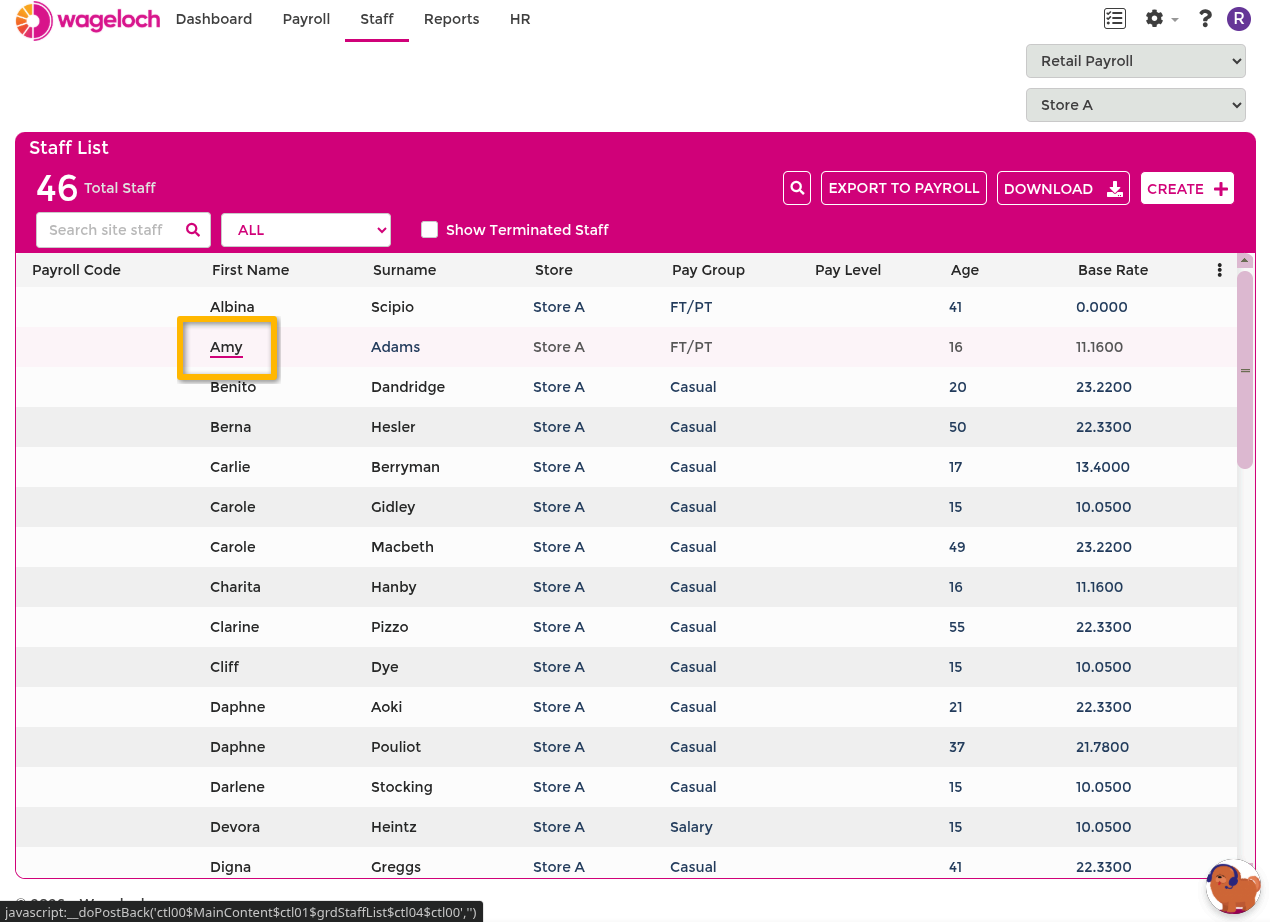
- Select an employee name to open their card.
If you operate across multiple sites (for example with Central Payroll), use the location selector to switch between staff lists.
INFO
You can customise visible columns in the staff list from the column options menu.
Create a new staff card
- Open Staff.
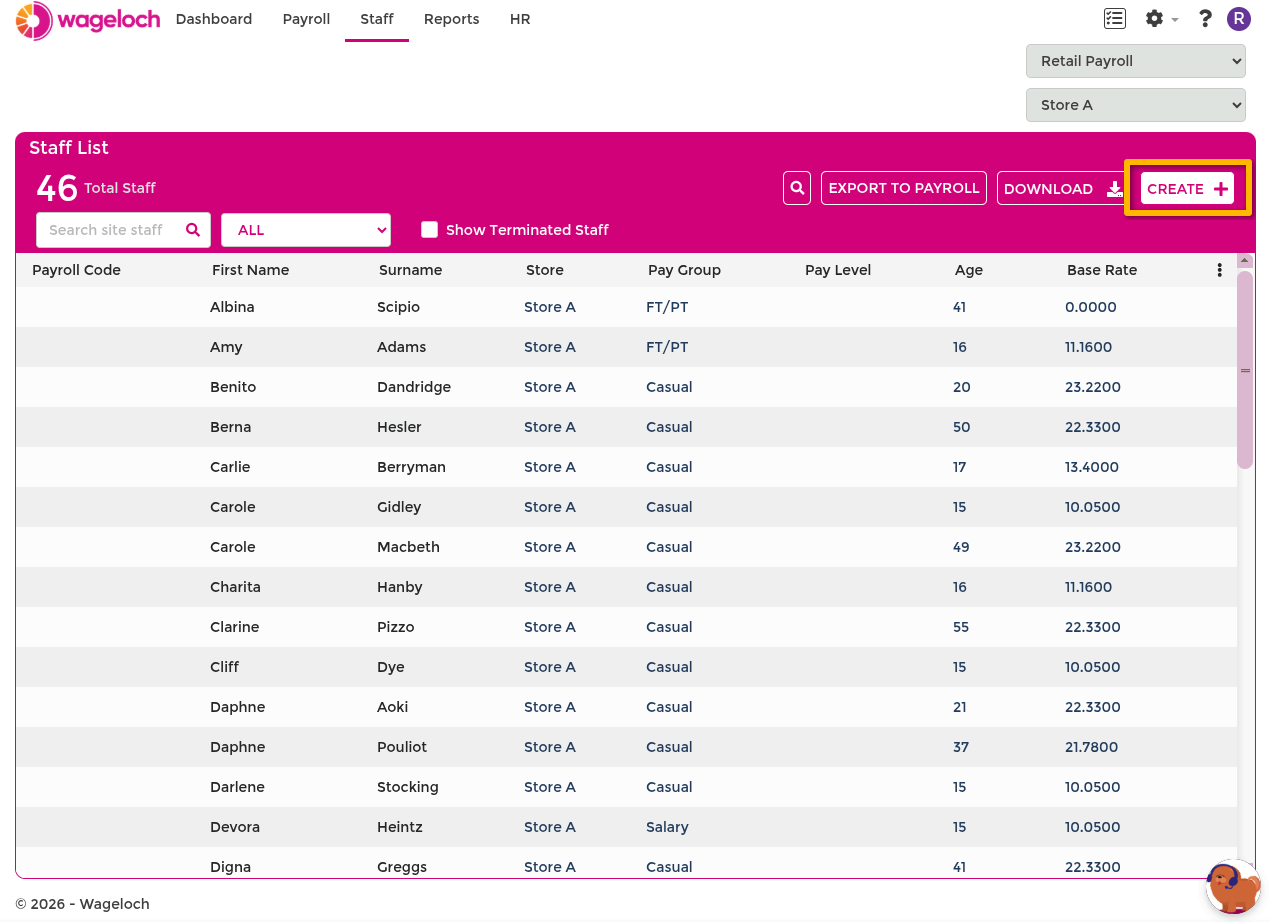
- Select Create.
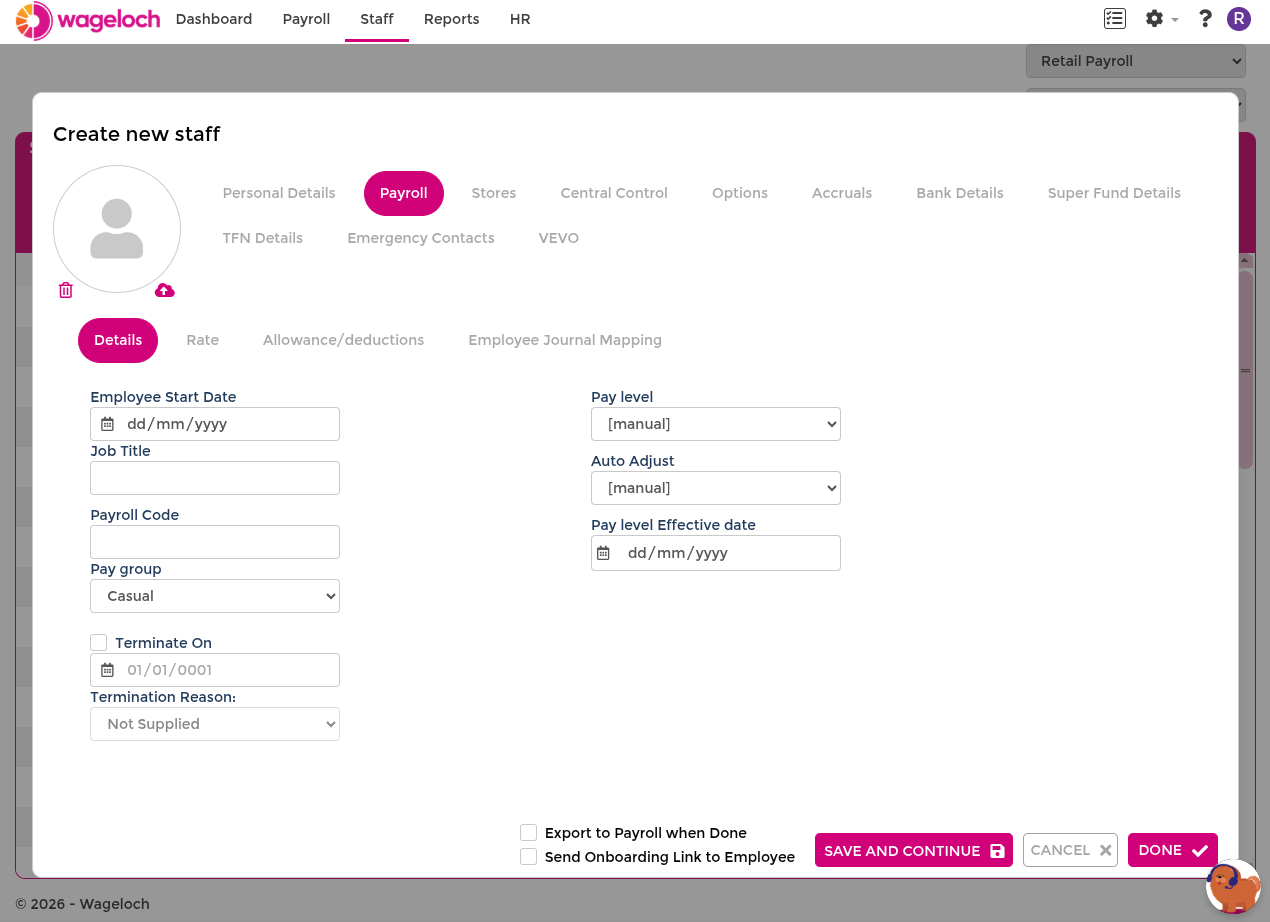
- Enter required personal details.
- Complete relevant tabs.
- Select Done to save.
For faster setup, send a digital onboarding link at creation time. See Onboarding.
Add a profile picture
- Open an existing or new staff card.
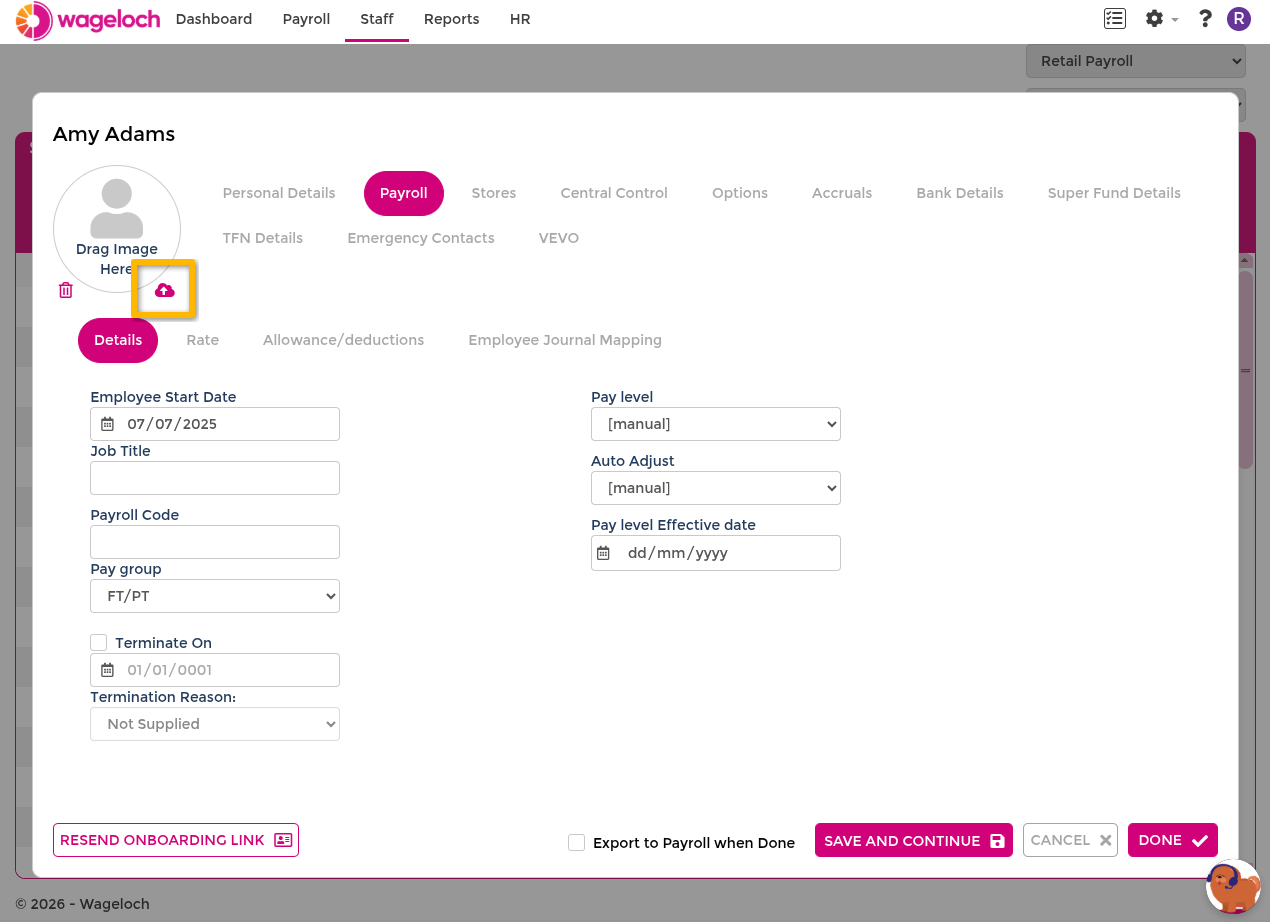
- Select the upload icon in the profile area.
- Choose an image file.
- Adjust crop/zoom as needed.
- Confirm to save.
Profile pictures can appear in rosters, timesheets, and Org Chart.
Staff Card tabs
Each tab on a staff card has its own guide, linked below. Use the previous/next links on each guide to move through them in order.
INFO
The tabs and fields available on a staff card may differ depending on your site configuration and permissions. The Central Control tab only appears when you are managing staff from a central payroll site, not from an individual site. If a tab or field looks different from its guide, check your settings or contact your system administrator.
Personal Details
Enter and maintain an employee's core identifying and contact information on the Personal Details tab of their staff card.
Rostering
Set an employee's department assignment and roster-related warning controls on the Rostering tab of their staff card.
Payroll
Set employment dates, pay group and level, rates, allowances, and journal mapping on the Payroll tab.
Stores
Set an employee's main store and add extra locations they can be rostered and clocked in at, on the Stores tab.
Options
Control an employee's visibility, clocking, and payroll behaviour using the toggles on the Options tab of their staff card.
Leave
Assign leave templates and template overrides to an employee on the Leave tab of their staff card.
Accruals
View an employee's leave balances and adjust them using Add Adjustment or Set Balance on the Accruals tab.
Bank, Super Fund, and TFN Details
Collect an employee's bank account, superannuation fund, and Tax File Number details, ideally through digital onboarding.
Emergency Contacts
Record an employee's nominated emergency contacts on the Emergency Contacts tab of their staff card.
Qualifications
Maintain credential details and expiry dates for an employee on the Qualifications tab, when Qualifications is enabled.
VEVO
Verify an employee's visa work entitlement through the Department of Home Affairs VEVO system on the VEVO tab of their staff card.
Central Control
Override selected staff card field values for an employee from the Central Control tab at the central payroll level.