Managing leave
2 min read
Managing leave
Managing leave ensures approved absences are reflected correctly in planning, rosters, and timesheets.
Before you start
- Open Wageloch and sign in with manager access.
- Select the Calendar icon in the top-right corner.
- Use Pending Requests for incoming requests and Staff Leave for approved bookings.
INFO
Leave requests shown in Pending Requests are submitted by employees through the Staff Portal or Mobile App.
Approve or decline pending leave
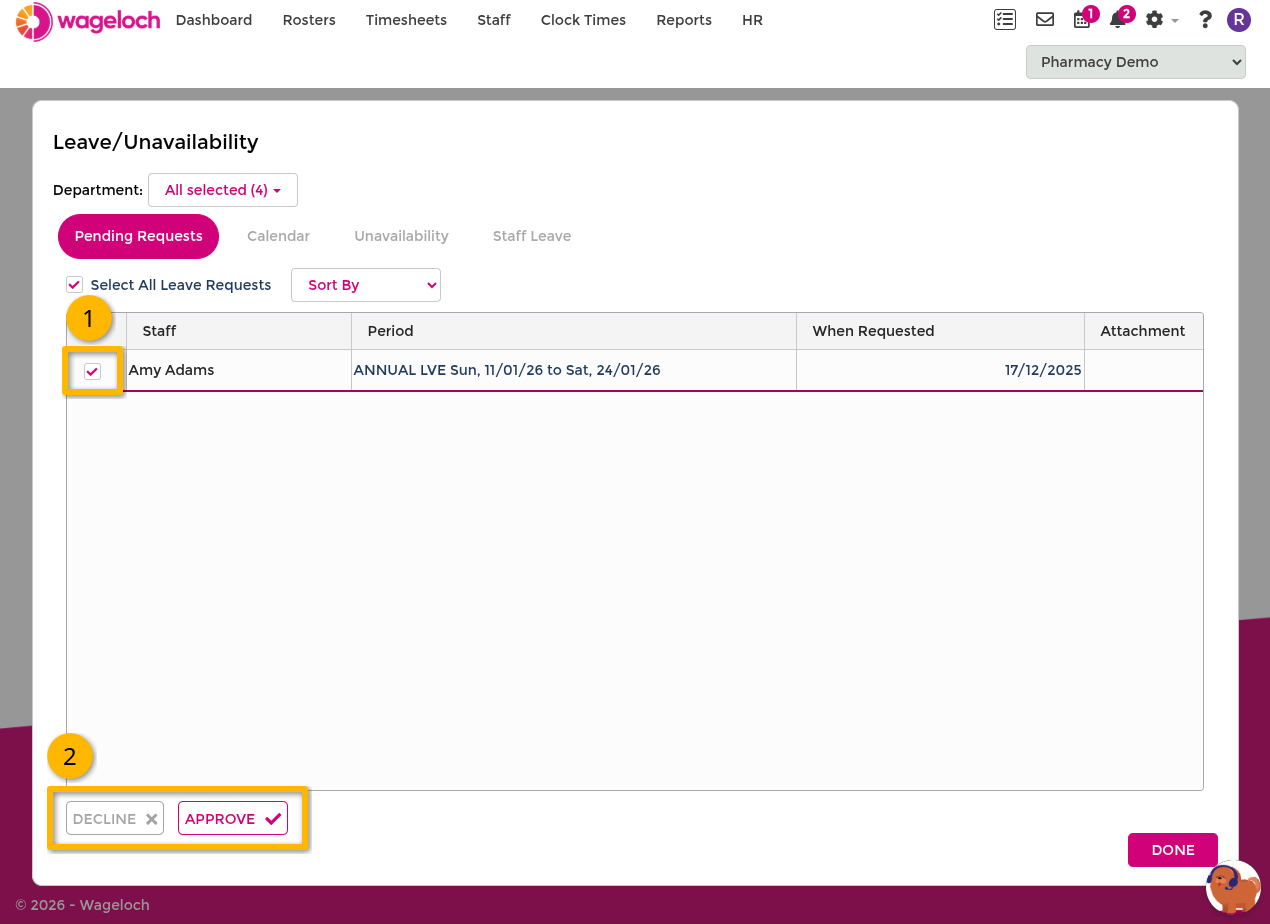
- In Pending Requests, locate the leave request.
- Tick the checkbox next to the request.
- Select Approve or Decline.
- If declining, add a reason so the staff member can correct and resubmit if needed.
- Select Done to save.
Approved leave is applied to planning views, rosters, and timesheets for the selected dates.
Edit a pending leave request
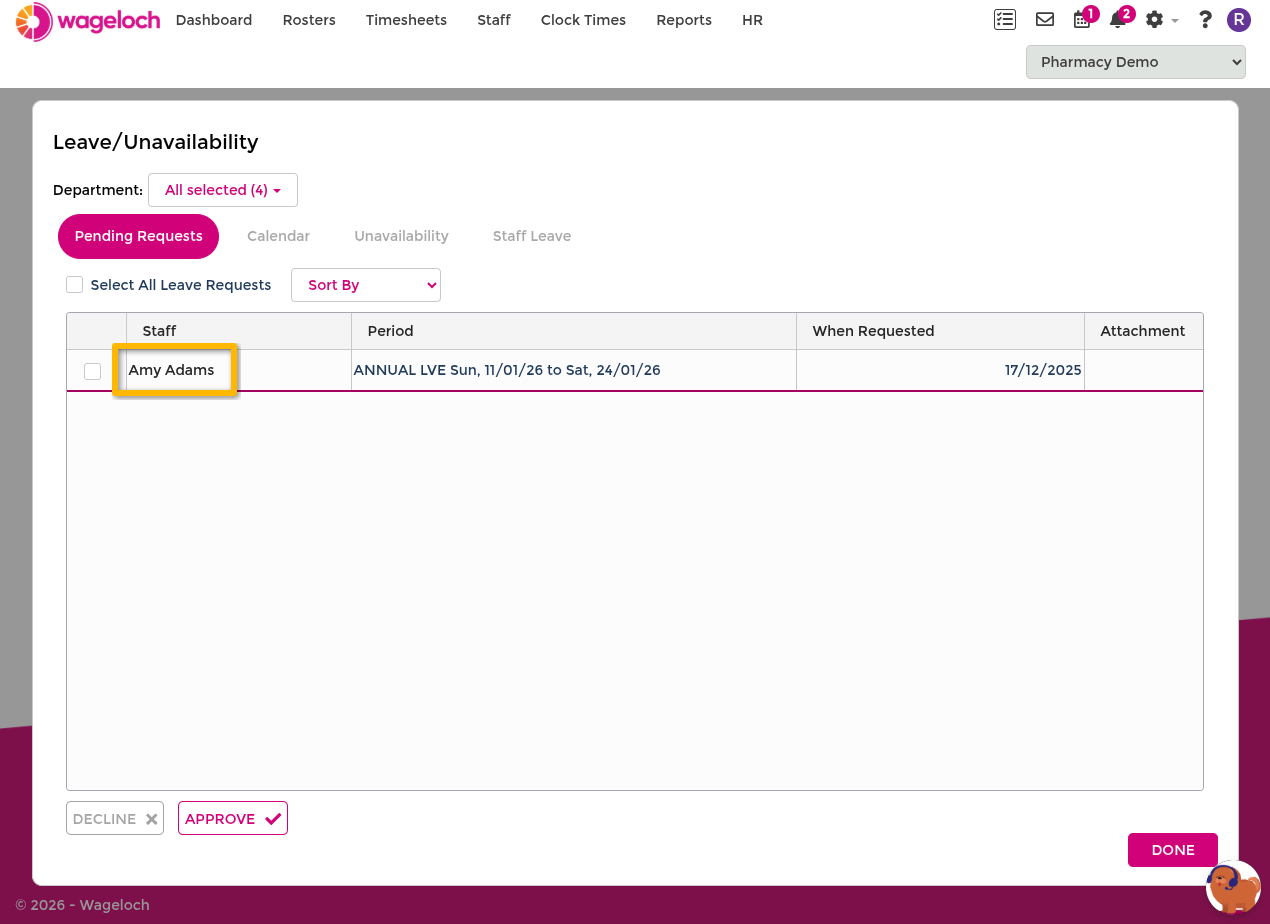
- In Pending Requests, click the staff member name to open the request.
- Update the leave type, dates, or time range as required.
- Select Save to apply the edits and complete the action.
Use this when a request is mostly correct and needs only minor changes before approval.
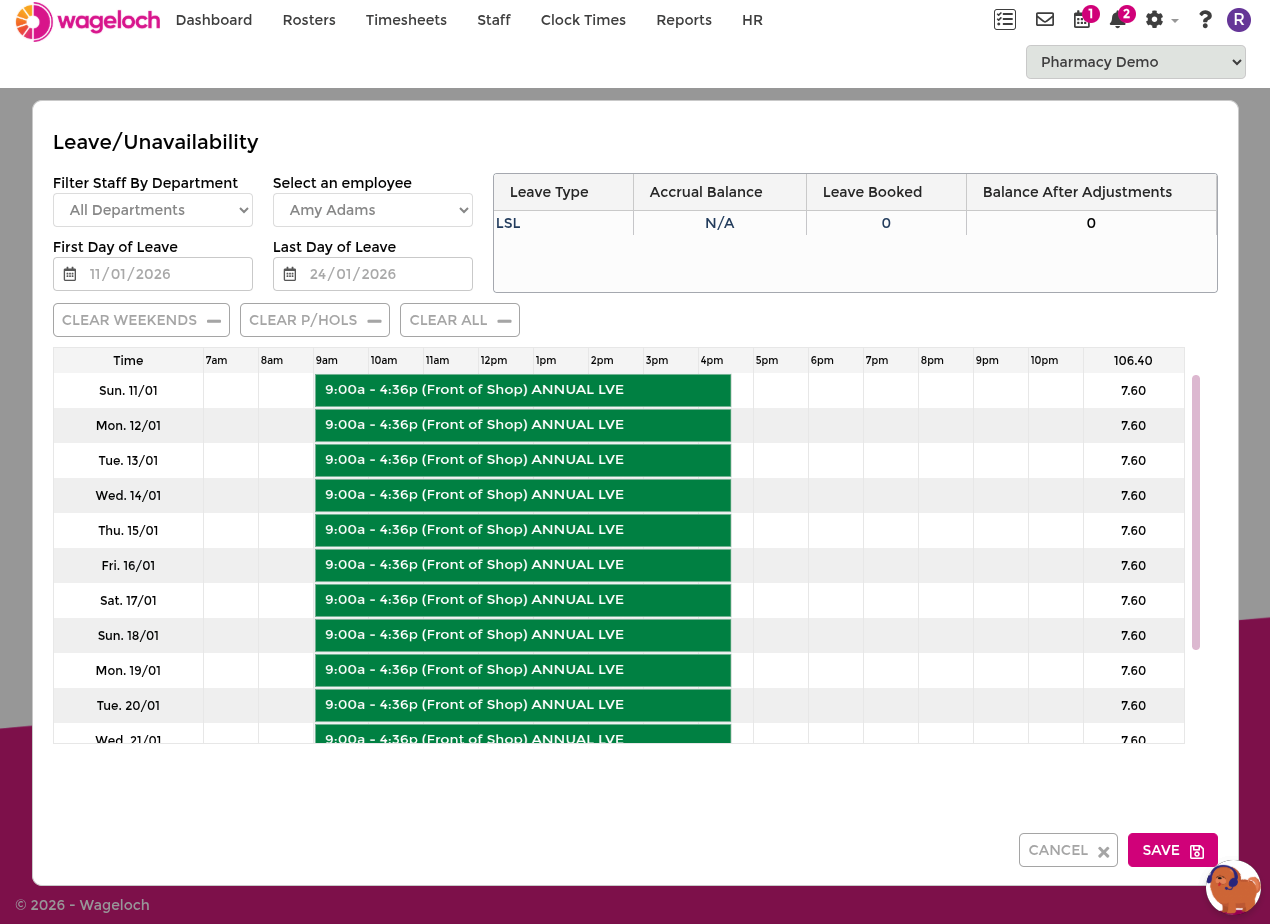
Create leave on behalf of staff
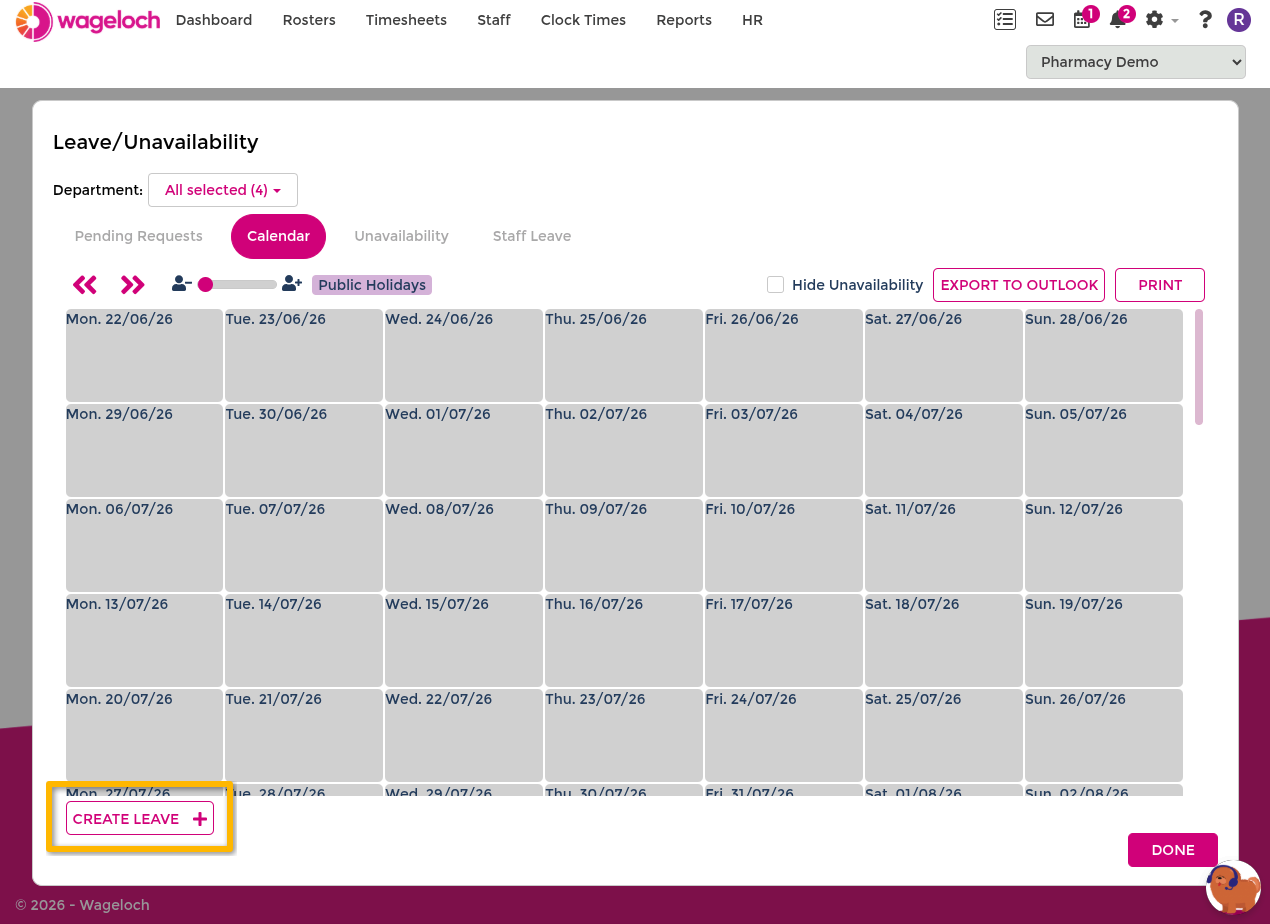
- Open Calendar and select the Calendar tab.
- Select Create Leave.
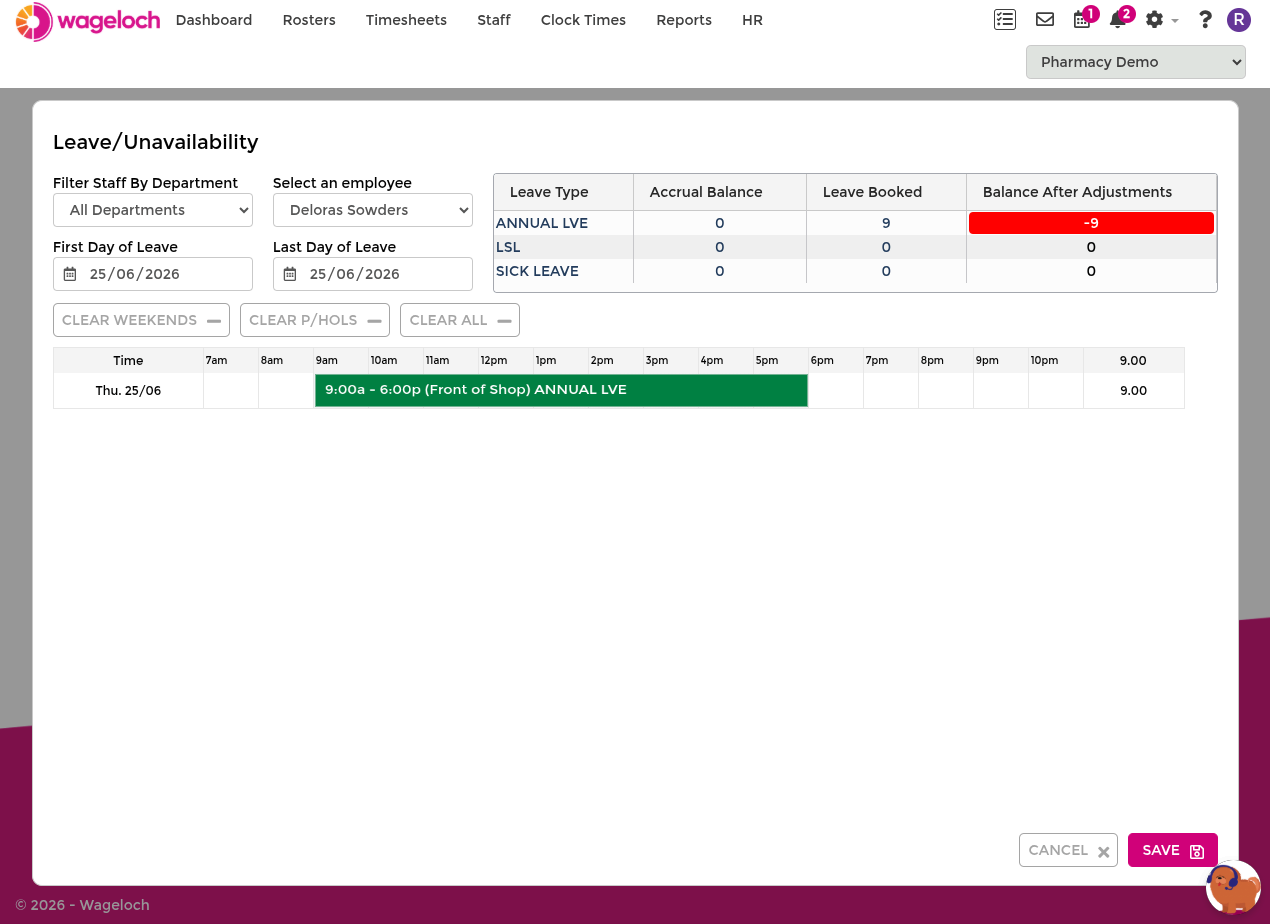
- Choose the staff member.
- Set the From and To dates.
- Add the leave period details in the shift rows.
- Confirm or adjust the leave type.
- Select Save.
This is useful when managers need to enter approved leave directly.
Edit or delete approved leave
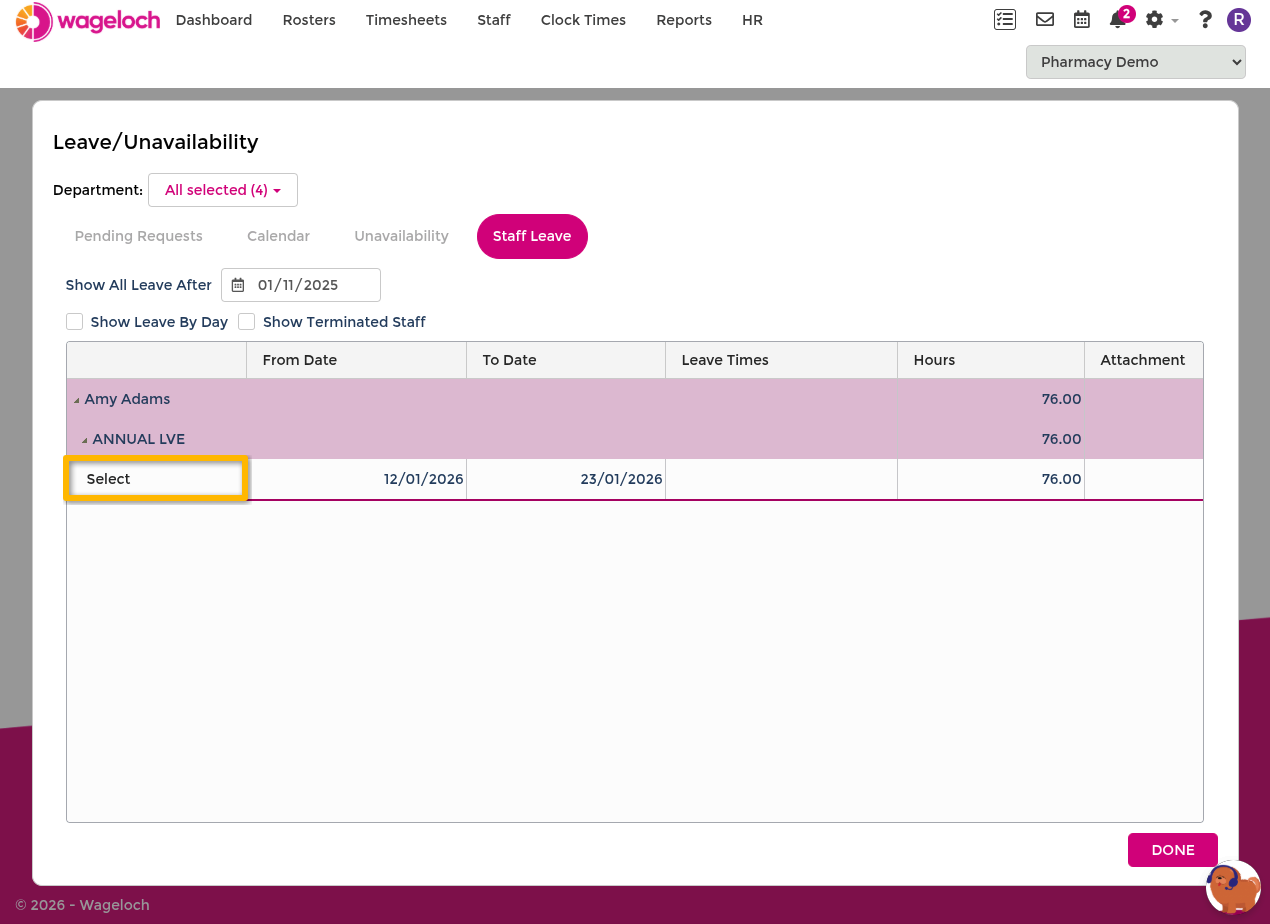
- Open Staff Leave.
- Find the staff member and expand the relevant leave entry.
- Select the leave booking to open it.
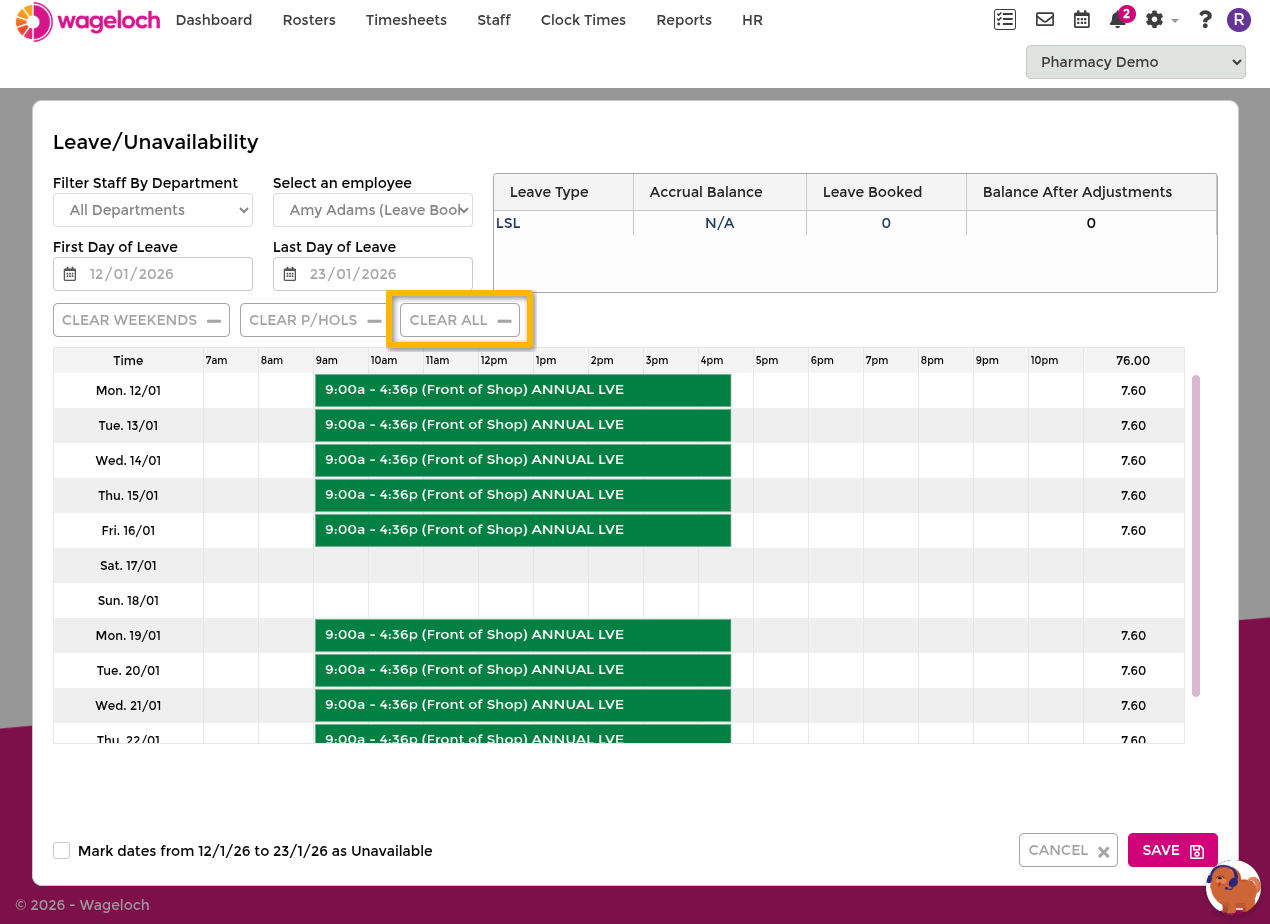
- Update leave details, or use Clear All to remove the booking.
- Select Save, then Done.
Changes update leave outcomes across calendar planning, rosters, and timesheets.