
Proximity Alerts
2 min read
Proximity Alerts
Proximity alerts help you quickly identify clock events recorded outside expected locations.
These checks do not block clocking activity. They flag out-of-radius events so managers can review them during timesheet review.
How proximity alerts work
You set:
- A location reference (site, department, or role-based).
- A distance threshold in metres.
When staff clock:
- Inside radius: clock events appear as normal.
- Outside radius: clock events appear with an alert marker.
How to read those markers is covered in Completing timesheets.
Enable proximity alerts
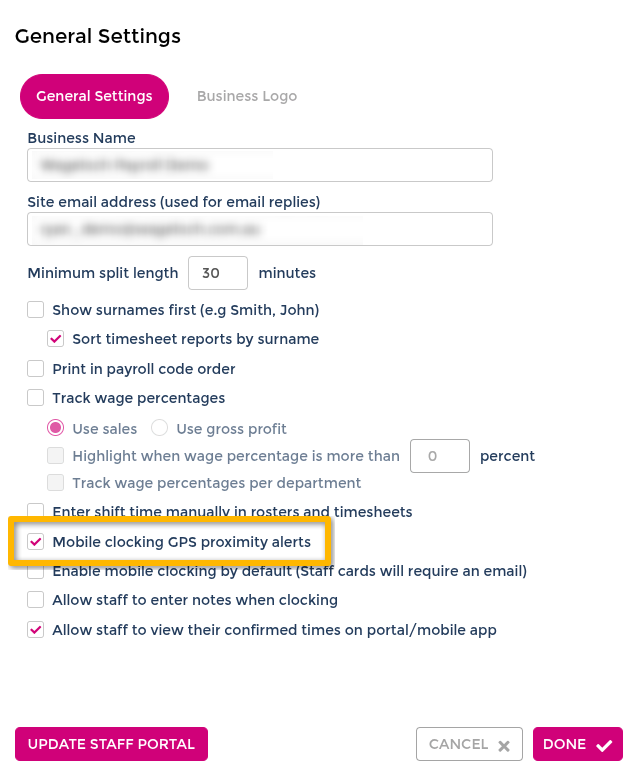
- Open Settings.
- Select General.
- Enable Mobile clocking GPS proximity alerts.
- Select Done.
- Confirm the save prompt if it appears.
Configure proximity mode and radius
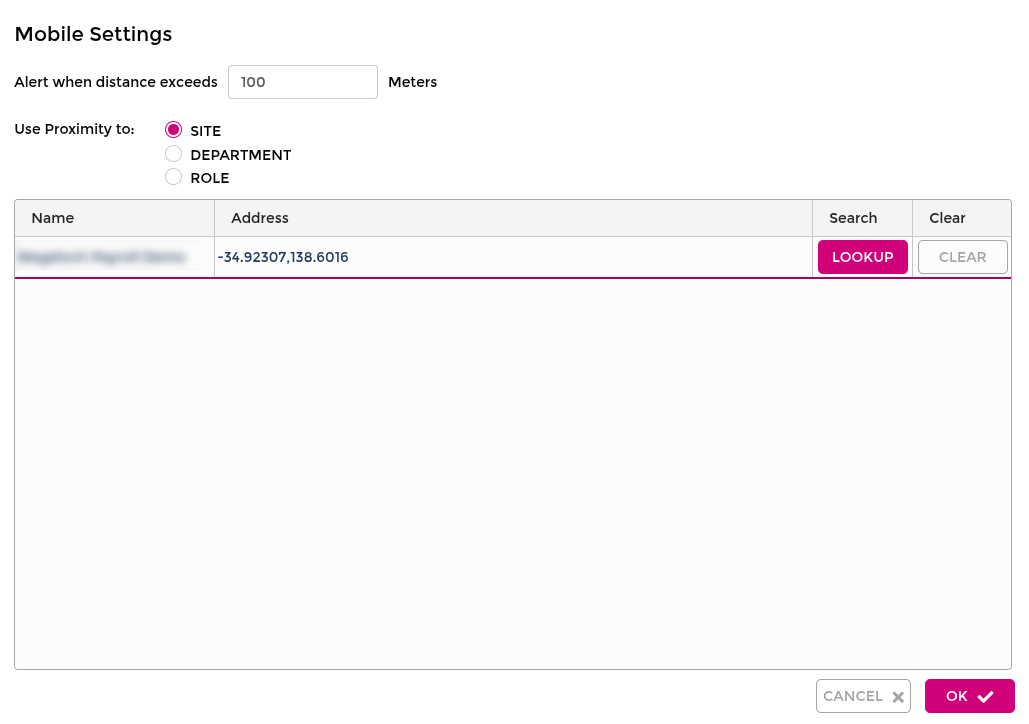
- Open Settings.
- Select Portal/Mobile App.
- Open Mobile Proximity Settings.
- Set Alert when distance exceeds to the required radius (metres).
- Select Use Proximity to:
- Site: for one shared location.
- Department or Role: for multiple location mappings.
- Select Done to save.
Set locations with address lookup
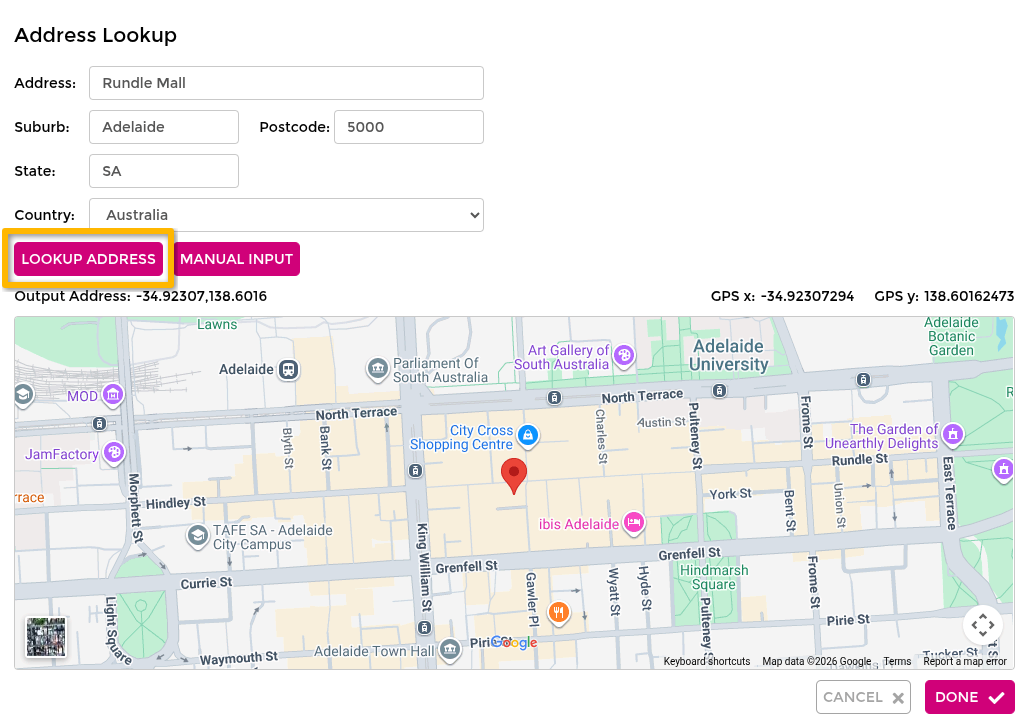
- In Mobile Proximity Settings, locate the target site, department, or role row.
- Select Lookup.
- Enter address details (address, suburb, postcode, state, country).
- Select Lookup Address.
- Confirm map, output address, and coordinates populate correctly.
- Select Done.
- Save from the settings screen.
Set locations with manual GPS coordinates
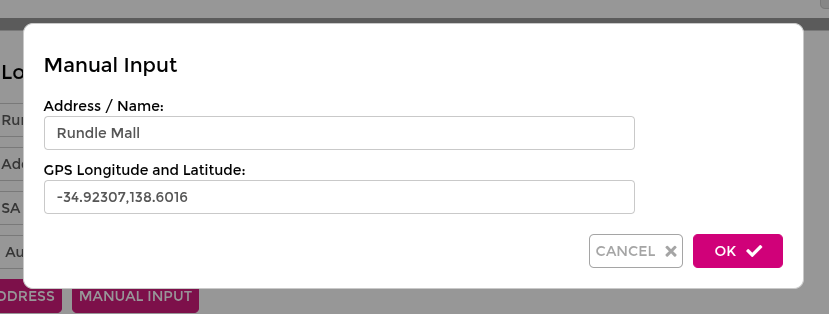
Use manual input when address lookup does not return the correct location.
- Find coordinates in a map tool (for example, Google Maps).
- In Mobile Proximity Settings, select Lookup on the target row.
- Select Manual Input.
- Enter:
- Address/Name: for display.
- GPS Longitude and Latitude: values.
- Select OK.
- Confirm the map output and saved location.
- Repeat for other department or role locations as required.
Check alert behaviour
After setup:
- Perform test clock events inside and outside the configured radius.
- Open the current timesheet.
- Confirm out-of-radius events are visibly flagged in the timesheet.
- Adjust the radius or location mapping if alerts are too sensitive or too permissive.